
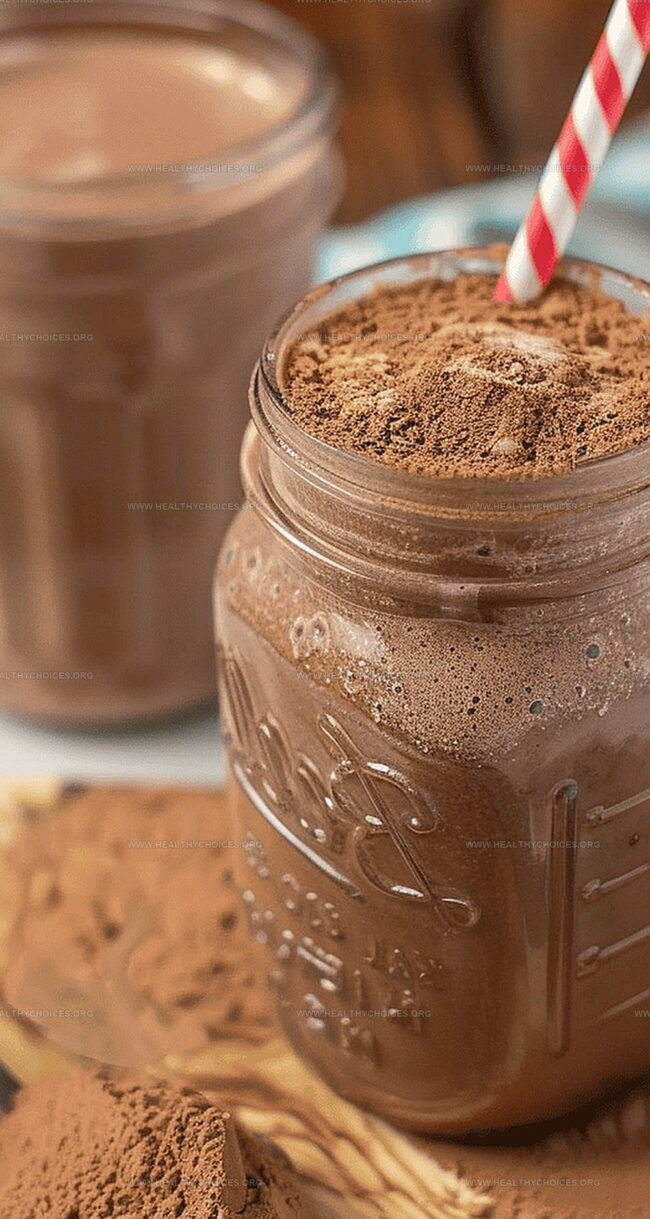
Creamy DIY Nesquik Recipe for Sweet Chocolate Milk Magic
Chocolate lovers seek that perfect blend of rich, creamy sweetness, and this homemade nesquik recipe delivers pure delight.
No store-bought mix can match the incredible depth of flavor in this simple concoction.
Real cocoa powder becomes the star ingredient, creating a divine chocolate drink that beats anything from a box.
You’ll love how quick and easy it is to whip up this nostalgic beverage with just a few pantry staples.
Blend the ingredients until silky smooth and watch as the mixture transforms into a decadent chocolate drink.
The rich aroma will transport you back to childhood memories of after-school snacks and cozy moments.
One sip, and you’ll never want to reach for a premade mix again.
Quick Recipe Overview
Homemade Nesquik Ingredients That Matter Most
For Sweetness and Base:For Enhancement:Tools for Mixing Your Chocolate Blend Right
Steps to Whisk Up Homemade Nesquik Easily
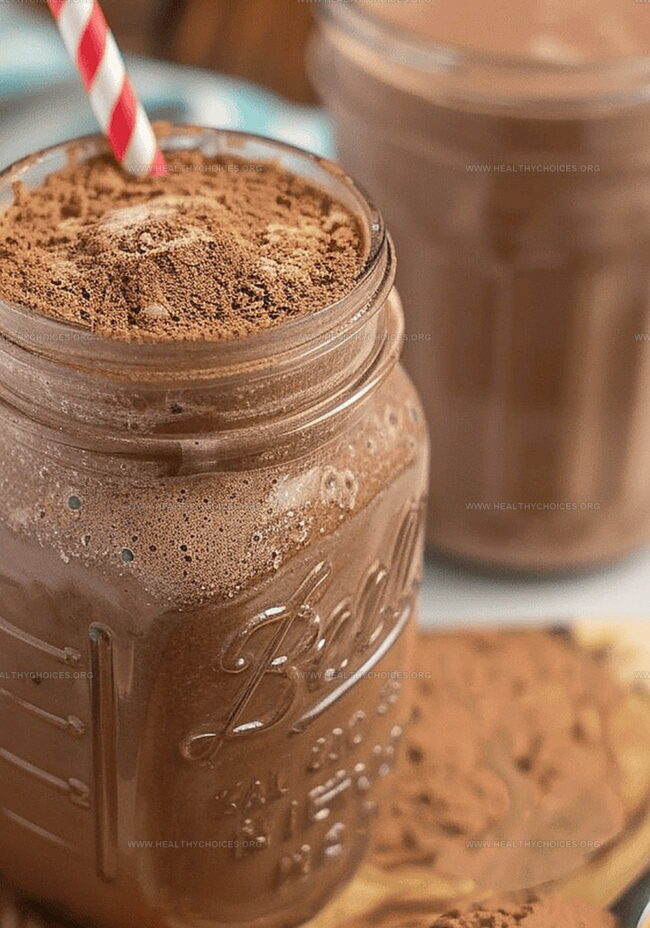
Grab a clean mason jar with a tight-fitting lid, perfect for creating your custom chocolate drink mix.
Drop in your favorite cocoa powder, sweetener, and a tiny pinch of salt, creating a magical flavor combination that will transform ordinary milk into a delightful treat.
Seal the jar firmly and give it an energetic shake, spinning and twirling until all ingredients dance together into a smooth, consistent powder.
Scoop a spoonful of your homemade mix into a glass, splash in a bit of warm water to help dissolve the powder, then pour cold milk over the top. Stir enthusiastically until the mixture swirls into a creamy, rich chocolate drink that will make your taste buds celebrate.
Flavor Boosts for Your Cocoa Powder Blend
Serve Nesquik Hot or Cold with Style
Store Your Blend for Use Later
Print
Creamy Homemade Nesquik Recipe
- Total Time: 5 minutes
- Yield: 17 1x
Description
Homemade Nesquik powder blends rich cocoa with sugar and milk powder for a nostalgic chocolate drink. Quick mixing creates an instant classic that satisfies chocolate cravings with minimal effort.
Ingredients
- 1 ⅓ cups (267 grams) granulated sugar
- ⅔ cup (80 grams) cocoa powder
- 1/8 teaspoon (0.6 ml) salt (optional)
Instructions
- Preparation: Select a pristine mason jar with a robust, airtight lid for crafting your signature chocolate powder blend.
- Ingredient Integration: Methodically pour dry components into the jar, ensuring precise and even distribution of cocoa, sugar, and salt.
- Blending Technique: Secure the lid tightly and execute a dynamic, multi-directional shaking motion to thoroughly amalgamate the powder mixture.
- Chocolate Base Creation: In a tall glass, introduce a modest quantity of hot water to facilitate seamless powder dissolution.
- Liquid Fusion: Sprinkle the homemade chocolate mix into the warm water, stirring diligently with a spoon until the powder completely dissolves, forming a silky, rich foundation.
- Milk Incorporation: Stream cold milk over the chocolate base, allowing the flavors to harmonize and create a smooth, luxurious beverage.
- Final Touch: Vigorously whisk the drink to guarantee uniform chocolate intensity and eliminate potential powder residue, and optionally garnish with a delicate cocoa powder dusting or a pillowy marshmallow for an elevated sensory experience.
Notes
- Jar Selection: Choose a clean mason jar with a tight lid to prevent moisture and maintain mix quality.
- Precise Mixing: Measure ingredients accurately and shake vigorously in multiple directions to ensure even cocoa, sugar, and salt distribution.
- Dissolving Technique: Use hot water first to create a smooth chocolate base before adding cold milk, preventing powder clumps.
- Flavor Enhancement: Optional toppings like cocoa powder dusting or marshmallows can elevate your chocolate milk experience.
- Prep Time: 5 minutes
- Cook Time: 0 minutes
- Category: Drinks, Snacks
- Method: Blending
- Cuisine: American
Nutrition
- Serving Size: 17
- Calories: 60
- Sugar: 16.7 g
- Sodium: 0.02 g
- Fat: 1.3 g
- Saturated Fat: 0.4 g
- Unsaturated Fat: 0.9 g
- Trans Fat: 0 g
- Carbohydrates: 17 g
- Fiber: 2.5 g
- Protein: 1 g
- Cholesterol: 0 mg
Emily Roberts
Content Creator & Kitchen Tips Specialist
Expertise
Dietary Planning, Public Health Nutrition, Nutritional Education, Content Development
Education
University of Illinois at Urbana-Champaign
Registered Dietitian Nutritionist (RDN)
Emily Roberts is our content specialist and registered dietitian at HealthyChoices.org. With her Master’s degree in Nutritional Sciences from the University of Illinois and her Registered Dietitian Nutritionist certification, Emily uses her deep nutrition knowledge to write helpful, easy-to-understand guides about healthy eating.
Her warm, practical advice empowers readers to confidently make healthier choices, turning everyday meals into simple moments of wellness and joy.