The Sweetest Mini Red Velvet Cheesecake Recipe for Tiny Treats
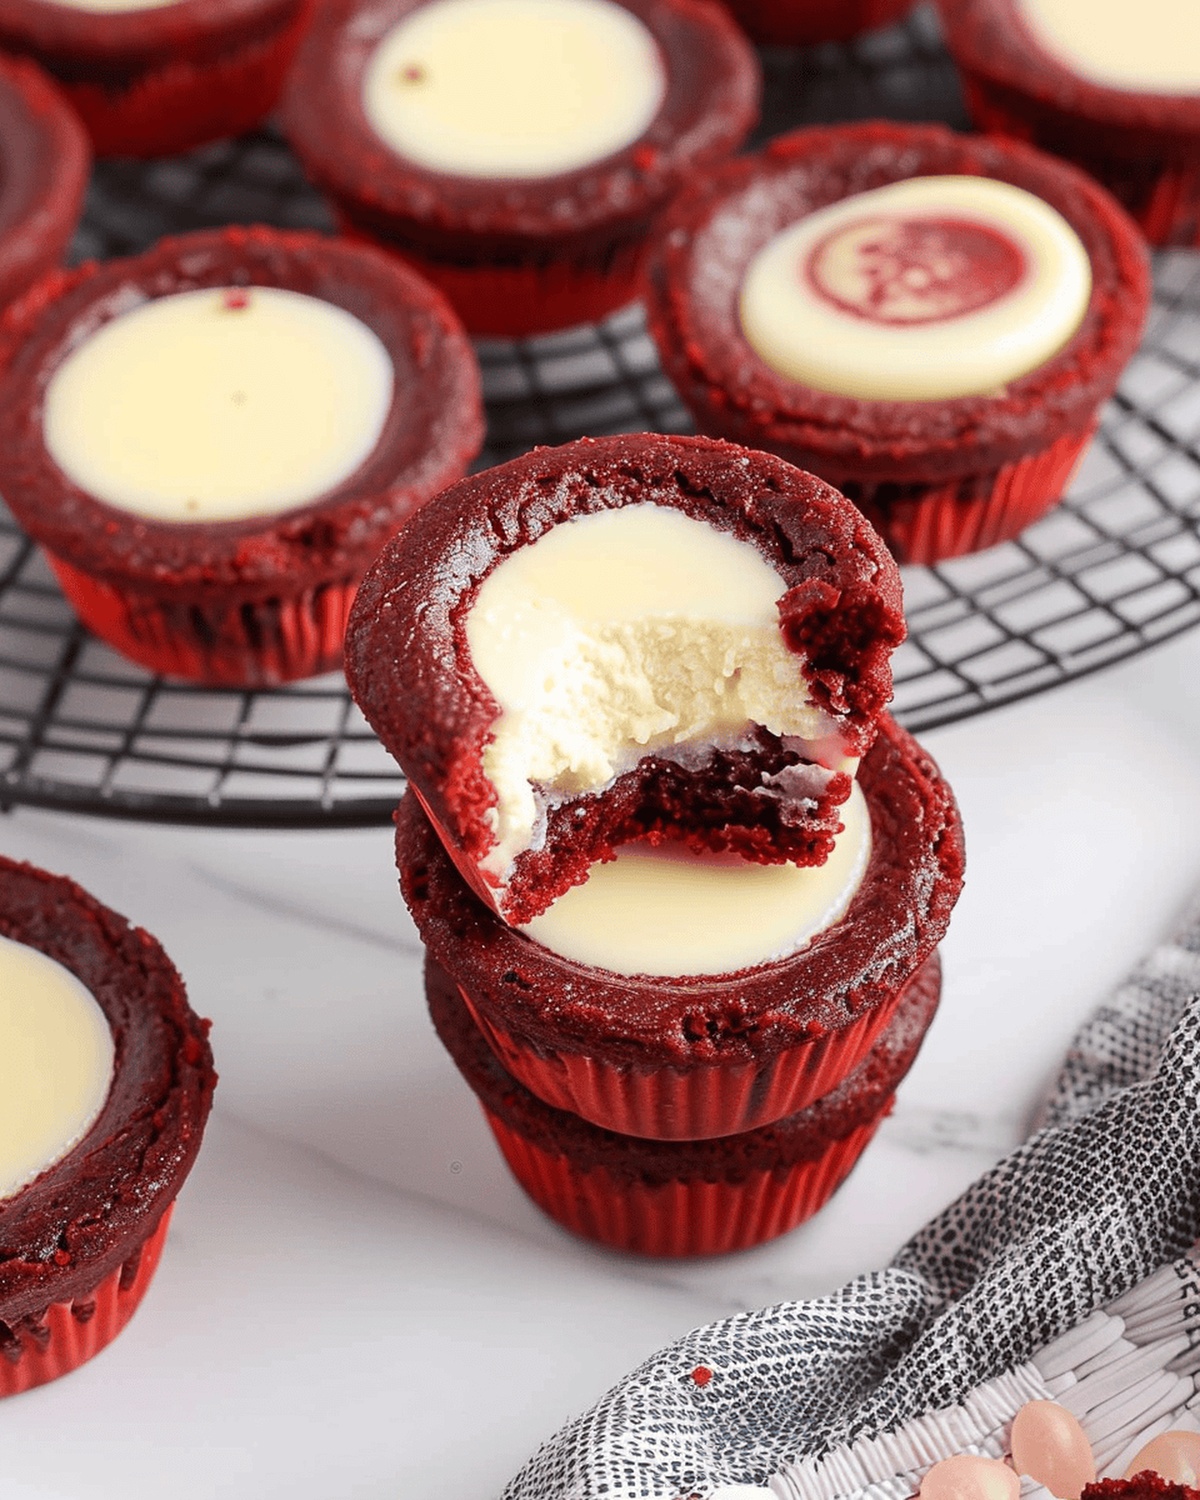
Mini red velvet cheesecake combines the luxurious richness of a classic dessert with adorable individual portions that tantalize taste buds.
This decadent treat marries smooth, creamy textures with a velvety crimson hue that instantly captivates dessert lovers.
Soft, tender cake layers intertwine with rich cream cheese filling, creating a harmonious balance of flavors that dance across your palate.
Elegant yet approachable, these miniature delights upgrade ordinary gatherings into memorable celebrations with their stunning visual appeal.
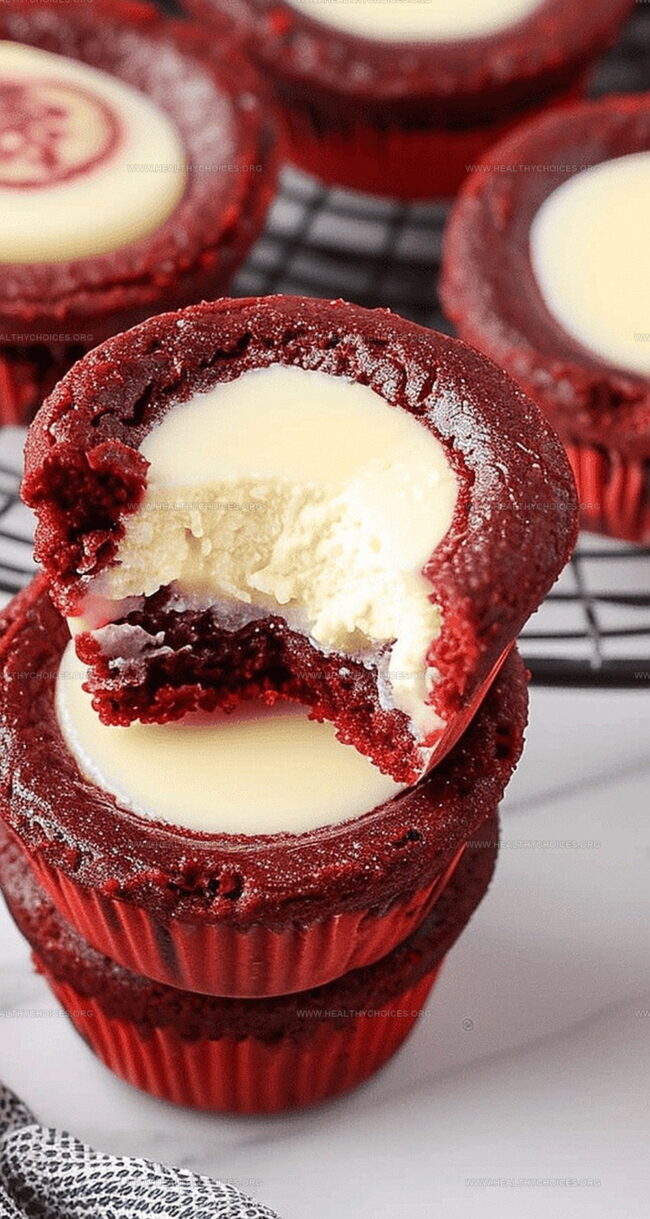
Each delicate bite promises a perfect combination of subtle cocoa undertones and luscious cream cheese smoothness.
Compact and irresistible, these petite desserts offer a sophisticated twist on traditional cheesecake that will impress even the most discerning sweet enthusiasts.
Mini Red Velvet Cheesecake with Big Flavor in Every Bite
Essential Ingredients for Mini Red Velvet Cheesecakes
Cake Base Ingredients:Wet Ingredients:Cheesecake Filling Ingredients:Baking Instructions for These Mini Cheesecake Delights
Step 1: Warm Up the Oven
Fire up your oven to 350°F. Spritz a mini muffin pan with cooking spray so nothing sticks.
Step 2: Create the Chocolate Base
Grab a mixing bowl and whisk together:Set this magical mixture aside.
Step 3: Mix the Vibrant Batter
In another bowl, blend together:Stir until everything dances together smoothly.
Step 4: Combine Dry and Wet Ingredients
Gently fold the flour mixture into the red batter. Be careful not to overmix – we want soft, tender treats!
Step 5: Whip Up the Creamy Filling
Grab your mixer and beat cream cheese until it’s silky smooth. Add:Mix until perfectly blended.
Step 6: Finish the Cheesecake Mixture
Softly fold in the egg yolk, stirring just until no yellow streaks remain.
Step 7: Prepare for Filling
Transfer the cheesecake mixture into a piping bag or ziplock bag.
Step 8: Build the Mini Cakes
Drop a tablespoon of red velvet base into each muffin cavity.
Step 9: Add the Creamy Center
Snip the bag’s corner and pipe about 2 teaspoons of cheesecake filling into the center of each base.
Step 10: Bake to Perfection
Slide the pan into the oven and bake for 8-9 minutes.
Step 11: Cool and Enjoy
Let the mini cheesecakes rest in the pan for 20-30 minutes. Then transfer to a wire rack to cool completely.
Get ready to bite into these adorable, decadent treats!
Tips for Smooth Centers and Velvety Red Layers
Storage Advice for Mini Red Velvet Cheesecakes
Sips and Sweets That Match Mini Cheesecakes
New Styles to Switch Up Red Velvet Cheesecake Minis
Print
Mini Red Velvet Cheesecake Recipe
- Total Time: 24 minutes
- Yield: 12 1x
Description
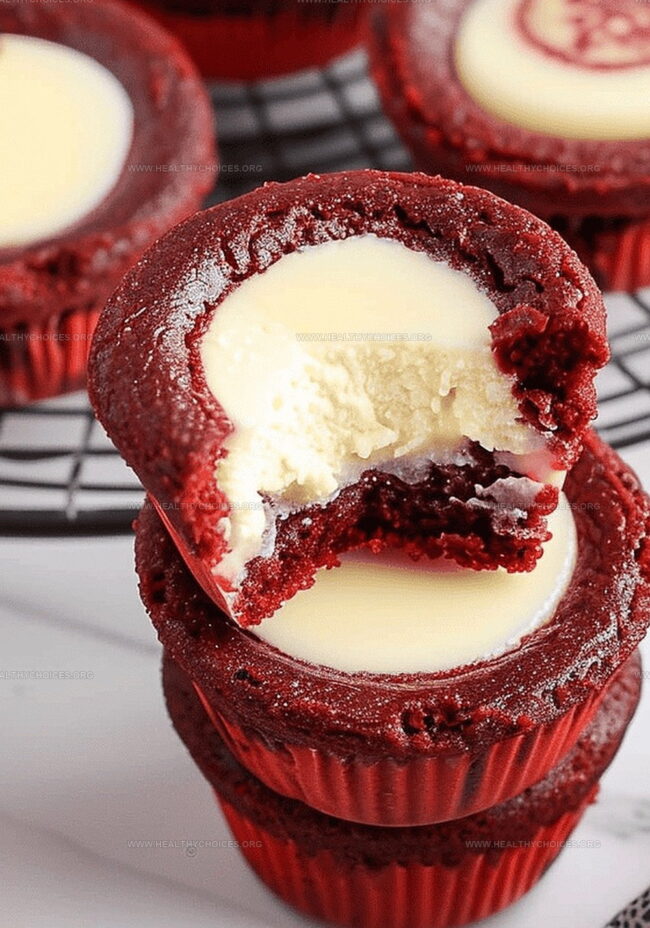
Indulgent mini red velvet cheesecakes bring classic Southern charm to dessert tables with rich cocoa and cream cheese layers. Creamy swirls of crimson velvet nestled in delicate graham cracker crusts promise pure deliciousness that will delight you completely.
Ingredients
Main Ingredients:
- 1 cup all-purpose flour
- 1¼ cups granulated sugar
- ¾ cup salted sweet cream butter, melted and cooled
- 2 large eggs, room temperature and beaten
- 8 ounces (226 grams) cream cheese, softened
Flavoring and Color:
- ¼ cup + 1 tablespoon unsweetened cocoa powder
- 1 tablespoon red gel food coloring (Sunny Side Up Bakery brand recommended)
- 2 teaspoons pure vanilla extract
- 1 teaspoon pure vanilla extract
Binder and Additional Ingredients:
- 1 large egg yolk
- ¼ cup granulated sugar
Instructions
- Prepare the oven by heating to 350°F (175°C) and lightly coat a mini muffin pan with nonstick spray.
- Combine flour and cocoa powder in a compact mixing vessel, creating a dry ingredient blend.
- In a separate bowl, vigorously whisk melted butter with sugar, transforming the mixture with vibrant red food coloring, vanilla essence, and eggs until thoroughly integrated.
- Gently fold the dry ingredient mixture into the wet ingredients, ensuring minimal agitation to maintain a smooth batter consistency.
- Using an electric mixer, whip cream cheese at medium-high velocity for one minute to achieve a silky texture.
- Incorporate sugar and vanilla extract into the cream cheese, blending until the mixture becomes uniformly creamy.
- Delicately introduce egg yolk into the cream cheese preparation, mixing until no yellow streaks are visible.
- Transfer the cream cheese mixture into a piping bag or resealable plastic bag for precise distribution.
- Distribute one tablespoon of red velvet base into each muffin cavity, creating a foundational layer.
- Carefully pipe approximately two teaspoons of cheesecake filling directly into the center of each red velvet base.
- Slide the mini muffin pan into the preheated oven and bake for 8-9 minutes until set.
- Remove from the oven and allow the mini cheesecakes to rest in the pan for 20-30 minutes, facilitating a gradual cooling process.
- Gently transfer the cooled mini cheesecakes to a wire rack, permitting complete temperature reduction before serving.
Notes
- Precise Preparation Matters: Carefully grease the mini muffin pan to ensure easy removal of delicate mini cheesecakes.
- Color and Flavor Balance: Use high-quality red food coloring to achieve a vibrant red velvet base with rich chocolate undertones.
- Mixing Technique is Key: Avoid overmixing the batter to maintain a tender, light texture in both the red velvet base and cheesecake filling.
- Piping Precision: Use a piping bag or ziplock bag for clean, professional-looking mini cheesecakes with perfectly centered filling.
- Cooling is Crucial: Allow the mini cheesecakes to cool gradually in the pan to prevent cracking and maintain their delicate structure.
- Storage Tip: Refrigerate these bite-sized treats for up to 3 days in an airtight container for maximum freshness and flavor.
- Prep Time: 15 minutes
- Cook Time: 9 minutes
- Category: Desserts
- Method: Baking
- Cuisine: American
Nutrition
- Serving Size: 12
- Calories: 320
- Sugar: 24 g
- Sodium: 350 mg
- Fat: 22 g
- Saturated Fat: 13 g
- Unsaturated Fat: 7 g
- Trans Fat: 0 g
- Carbohydrates: 30 g
- Fiber: 1 g
- Protein: 4 g
- Cholesterol: 100 mg
David Bennett
Founder & Head Recipe Developer
Expertise
Culinary Nutrition, Recipe Development, Nutritional Counseling, Food Science
Education
Johnson & Wales University
Certified Nutrition Specialist® (CNS®)
David Bennett is the lead recipe creator and nutrition expert at HealthyChoices.org, your friendly space for tasty meals that nourish body and mind.
With a Culinary Nutrition degree from Johnson & Wales University and a Certified Nutrition Specialist® credential, David pairs practical nutrition with delicious cooking, creating recipes you’ll crave daily.
At Healthy Choices, David shares easy, nutritious dishes and smart cooking tips to make healthy eating something everyone can enjoy, with no complicated diets needed.