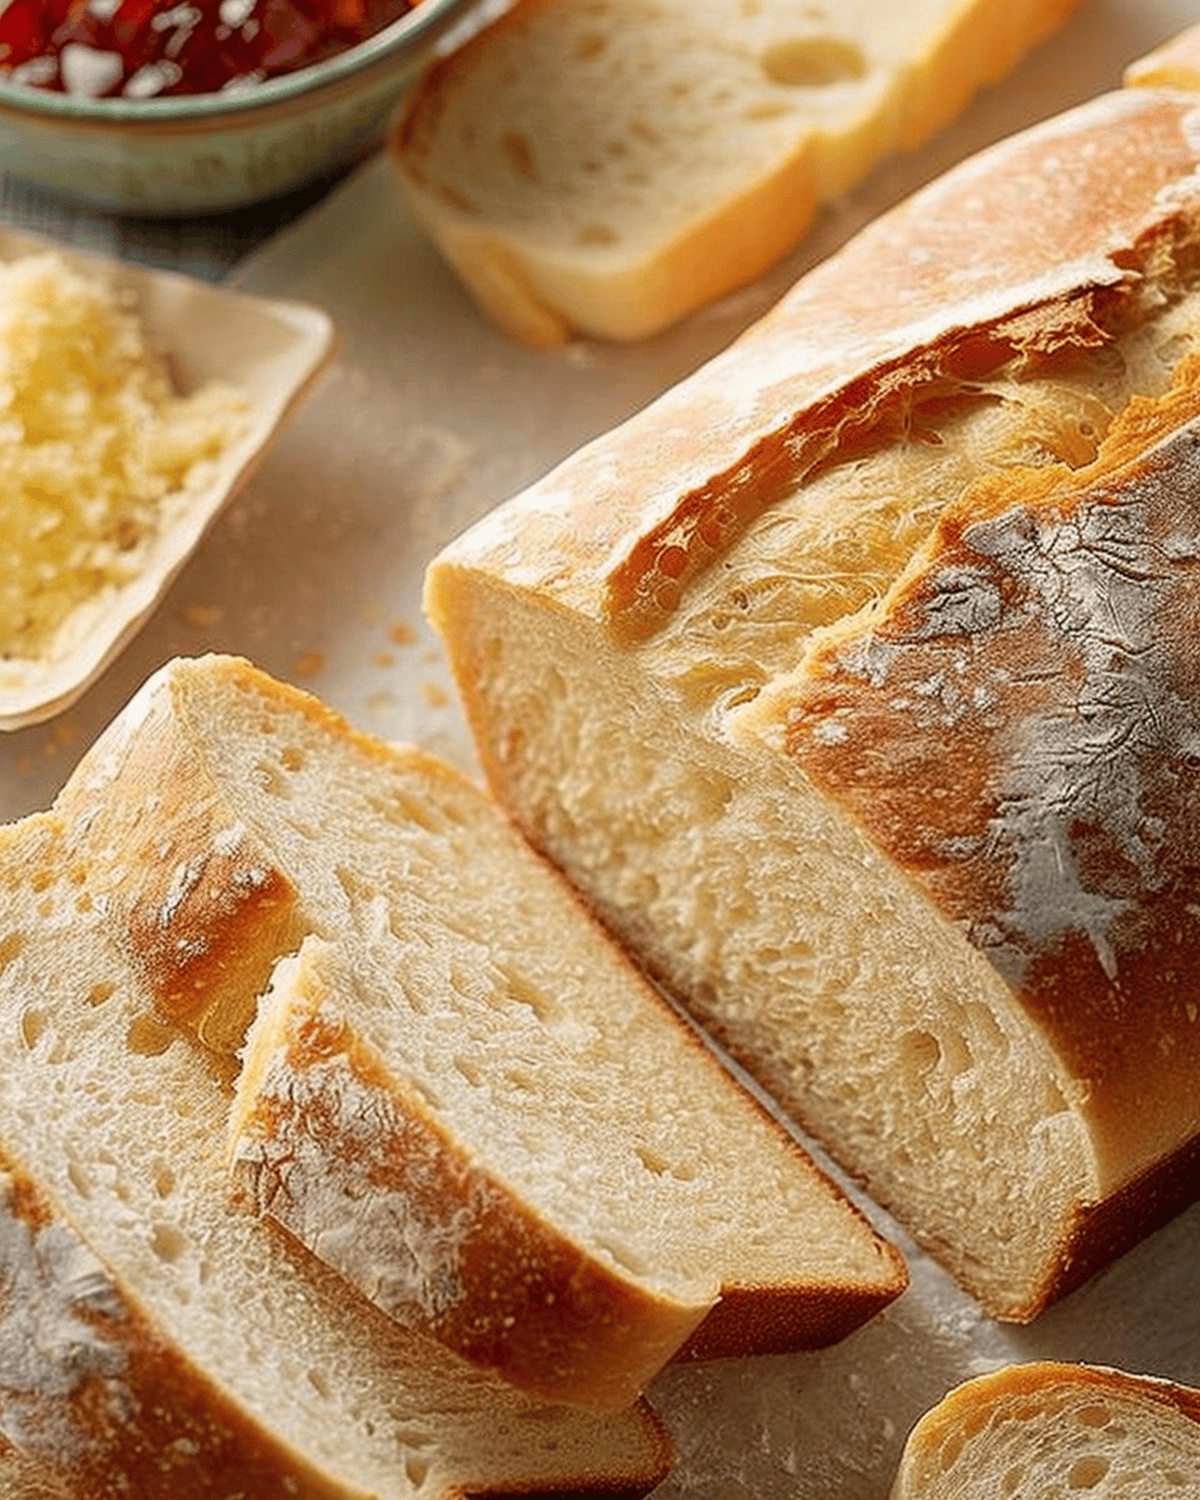
Baking bread brings a magical warmth that fills your kitchen with tantalizing homemade bread recipe aromas, drawing everyone close with its comforting embrace.
The simple art of bread-making connects us to generations of culinary traditions.
Flour, water, yeast, and salt become a canvas for creating something extraordinary.
Kneading dough transforms ordinary ingredients into a delectable masterpiece that speaks directly to the soul.
Each slice tells a story of patience and passion.
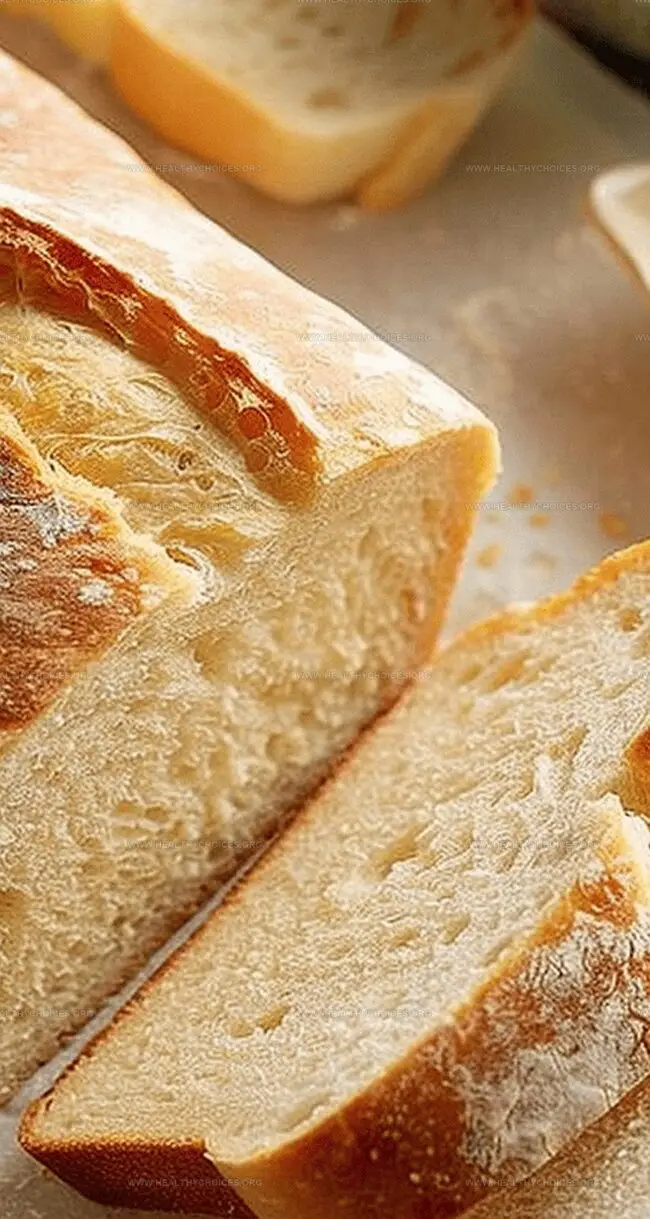
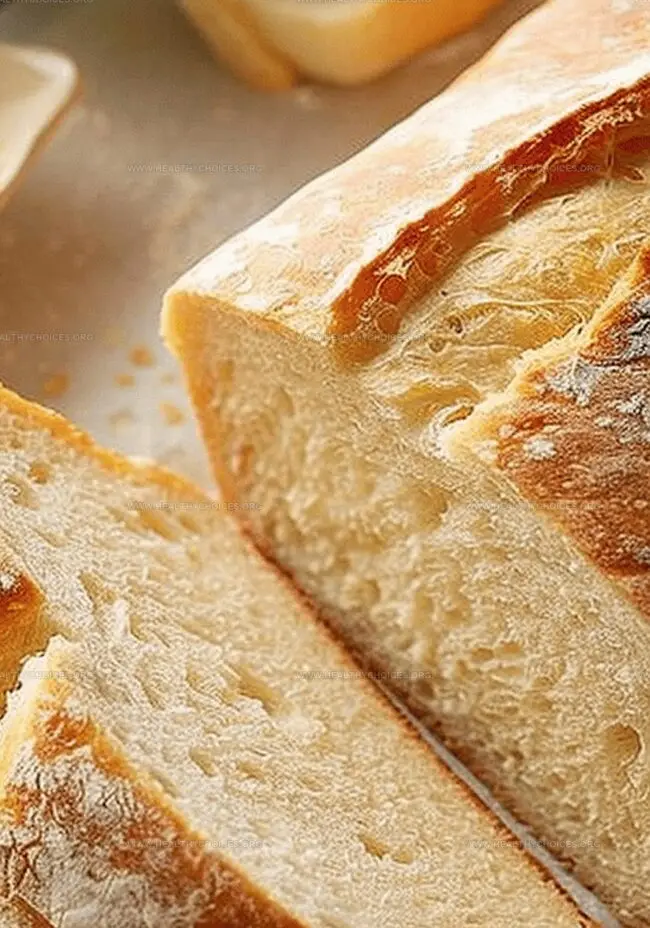
The soft, golden crust promises a delightful experience that store-bought bread can never match.
Your first bite will transport you to a world of pure, rustic deliciousness that begs to be shared and savored.
Quick Recipe Overview
Prep Time: 10 minutes
Cook Time: 35 minutes
Total Time: 3 hours 20 minutes
Calories: 180 kcal
Servings: 13
Pantry Picks for Homemade Bread Success
For Rising and Activating:
Active Dry Yeast: Magical microorganism that helps bread rise and creates delightful airy texture, choose fresh package with recent expiration date.
Sugar: Feeds yeast and helps activate fermentation process, enhances golden brown crust color.
For Liquid and Moisture:
Warm Water: Creates perfect environment for yeast to bloom, ensures consistent bread texture and helps blend ingredients smoothly.
Canola Oil: Adds softness to bread, prevents dryness and helps create tender crumb with smooth mouthfeel.
For Structure and Flavor:
Bread Flour: High-protein flour provides strong gluten network for perfect bread structure, select unbleached variety for best results.
Salt: Enhances bread’s flavor, controls yeast growth and strengthens gluten development, use fine-grain for even distribution.
Tools for Baking a Loaf at Home
Large Mixing Bowls: Essential for combining ingredients and kneading dough.
Whisk: Perfect for blending dry ingredients smoothly.
Measuring Cups and Spoons: Crucial for accurate ingredient proportions.
Loaf Pans (9×5-inch): Needed to shape and bake bread into classic loaf form.
Kitchen Towel: Used to cover dough during rising process.
Flour Sifter or Sieve: Helps distribute flour evenly when kneading.
Wire Cooling Rack: Allows bread to cool without getting soggy on the bottom.
Wooden Spoon or Spatula: Great for stirring and mixing ingredients.
How to Knead and Bake Homemade Bread
Bread Adventure
Kitchen Preparation Gather all your baking tools and clear a spacious countertop for your delicious bread journey. Ensure you have a clean workspace that feels inviting and ready for delightful culinary magic.
Yeast Awakening Create a warm, welcoming environment for your yeast. Dissolve it in cozy water, letting it bloom and come alive with tiny bubbles dancing across the surface.
Flour Foundation Mix your dry ingredients with gentle care, creating a soft landscape where flavors will soon blend and transform. Whisper love into each handful of flour.
Dough Formation Bring together your liquid and dry ingredients, stirring with enthusiasm until a smooth, promising dough begins to take shape. Feel the potential of your future bread emerging.
Kneading Magic Transform your sticky mixture into a smooth, elastic wonder through rhythmic pressing and folding. Your hands become the sculptors of deliciousness, working the dough with passion.
Rising Moment Tuck your dough into a comfortable, warm spot and allow it to grow and develop character. Watch with wonder as it expands and becomes something magical.
Loaf Crafting Gently shape your dough into beautiful loaves, treating it with tender care. Place them in waiting pans, allowing them a final peaceful moment before baking.
Golden Transformation Slide your creations into a hot oven, watching them turn a beautiful golden brown. Listen for the hollow sound that signals perfect bread, then cool and enjoy your masterpiece.
Switch Up Flavors in Your Homemade Bread
Bread Baking Brilliance: Expert tips to elevate your homemade bread game and create mouthwatering loaves every time.
Temperature Tricks: Use a kitchen thermometer to ensure water is between 110-115°F for perfect yeast activation without killing the delicate microorganisms. Warm temperatures help yeast thrive and develop rich flavor profiles.
Kneading Mastery: Press and fold the dough instead of just pulling, creating stronger gluten networks that result in better bread texture. Strong kneading develops elasticity and creates those beautiful, airy pockets inside your loaf.
Moisture Magic: Place a shallow pan of hot water on the bottom oven rack while baking to create steam, which helps develop a crispy, golden-brown crust. Professional bakers use this technique to achieve bakery-quality bread at home.
Flour Power: Experiment with different flour types like whole wheat, rye, or bread flour to add unique flavors and nutritional variety. Mixing flour types can create complex taste profiles and interesting texture variations in your homemade bread.
Ways to Serve Bread Beyond the Basics
Cozy Breakfast Companion: Slice the warm bread and spread creamy butter or homemade jam for a delightful morning treat that melts in your mouth and starts your day with comfort.
Sandwich Sensation: Create hearty sandwiches with fresh slices, layering deli meats, crisp lettuce, and tangy mustard for a lunch that beats any store-bought bread experience.
Rustic Dinner Side: Serve alongside soups, stews, or salads as a perfect accompaniment that adds warmth and homemade charm to your evening meal. Tear chunks and dip into rich broths for extra flavor.
Gifting Goodness: Wrap a loaf in parchment paper with a ribbon for a thoughtful homemade gift that shows love and care through your baking skills.
Storage Advice for Fresh Baked Bread
Freshness First: Store your homemade bread in an airtight container or resealable plastic bag at room temperature. It stays delicious for 3-4 days, maintaining its soft texture and amazing flavor.
Freezing Magic: Wrap individual loaves or slices tightly in plastic wrap, then place in a freezer bag. Frozen bread can last up to 3 months without losing quality. Thaw at room temperature or gently reheat in the oven for that just-baked warmth.
Smart Slicing Strategy: Cut only the amount of bread you’ll use within a day or two. Keep the remaining loaf whole to prevent moisture loss and maintain its delightful texture. Use a sharp serrated knife for clean, even slices.
Quick Revive Trick: If bread starts to feel slightly stale, sprinkle it with water and warm in the oven for 3-5 minutes. This simple hack brings back the bread’s soft, fresh-baked feel, making it taste like it just came out of the oven.
Rustic homemade bread emerges from traditional baking techniques passed down through generations. Mediterranean kitchens inspire this simple, hearty loaf that connects people through shared culinary heritage.
Ingredients
Scale
2–¼ cups (532 mL) warm water (110° to 115°F)
2 tbsps (30 mL) canola oil
1 package (¼ oz/7 g) active dry yeast
3 tbsps plus ½ tsp sugar
1 tbsp salt
6–¼ to 6-¾ cups bread flour
Instructions
Yeast Activation: Dissolve yeast with sugar in warm water, allowing the mixture to foam and become bubbly, signaling live cultures within 5-10 minutes.
Dry Ingredient Fusion: Whisk together sugar, salt, and partial flour in a mixing bowl, creating a uniform dry foundation.
Liquid Integration: Blend canola oil into activated yeast, then pour into flour mixture. Whisk vigorously until achieving a smooth, homogeneous consistency.
Dough Formation: Gradually fold remaining flour into the mixture, kneading until developing a supple, elastic texture that springs back when touched.
Primary Fermentation: Place dough in a greased container, rotating to coat entirely. Cover with a clean cloth and rest in a warm location until volume doubles, approximately 1 hour.
Shaping and Secondary Rise: Punch down dough, divide into two portions, and shape into loaves. Position in prepared baking pans and allow to rise again until significantly expanded.
Baking Process: Preheat oven to 375°F. Bake loaves until achieving a deep golden-brown color and producing a hollow sound when tapped. Immediately transfer to cooling racks to prevent soggy bottoms and complete the baking process.
Notes
Activate Yeast Carefully: Mix yeast with sugar in lukewarm water to ensure proper fermentation, watching for a foamy surface within 5-10 minutes.
Develop Gluten Effectively: Knead dough with consistent, rhythmic motions to create a smooth, elastic texture that provides bread’s characteristic structure.
Control Rising Environment: Place dough in a warm, draft-free area to allow optimal proofing, typically doubling in volume during the first rise.
Monitor Baking Precision: Check bread doneness by tapping the crust – a hollow sound indicates perfectly baked loaves with ideal internal structure.
Dietary Planning, Public Health Nutrition, Nutritional Education, Content Development
Education
University of Illinois at Urbana-Champaign
Degree: Master of Science in Nutritional Sciences
Focus: Research on dietary patterns and their impact on chronic diseases.
Registered Dietitian Nutritionist (RDN)
Credential: Expertise in translating nutrition science into practical advice.
Emily Roberts is our content specialist and registered dietitian at HealthyChoices.org. With her Master’s degree in Nutritional Sciences from the University of Illinois and her Registered Dietitian Nutritionist certification, Emily uses her deep nutrition knowledge to write helpful, easy-to-understand guides about healthy eating.
Her warm, practical advice empowers readers to confidently make healthier choices, turning everyday meals into simple moments of wellness and joy.

Emily Roberts
Content Creator & Kitchen Tips Specialist
Expertise
Dietary Planning, Public Health Nutrition, Nutritional Education, Content Development
Education
University of Illinois at Urbana-Champaign
Registered Dietitian Nutritionist (RDN)
Emily Roberts is our content specialist and registered dietitian at HealthyChoices.org. With her Master’s degree in Nutritional Sciences from the University of Illinois and her Registered Dietitian Nutritionist certification, Emily uses her deep nutrition knowledge to write helpful, easy-to-understand guides about healthy eating.
Her warm, practical advice empowers readers to confidently make healthier choices, turning everyday meals into simple moments of wellness and joy.