
Easy Fluffy Garlic Butter Breadsticks Recipe: Golden & Crispy
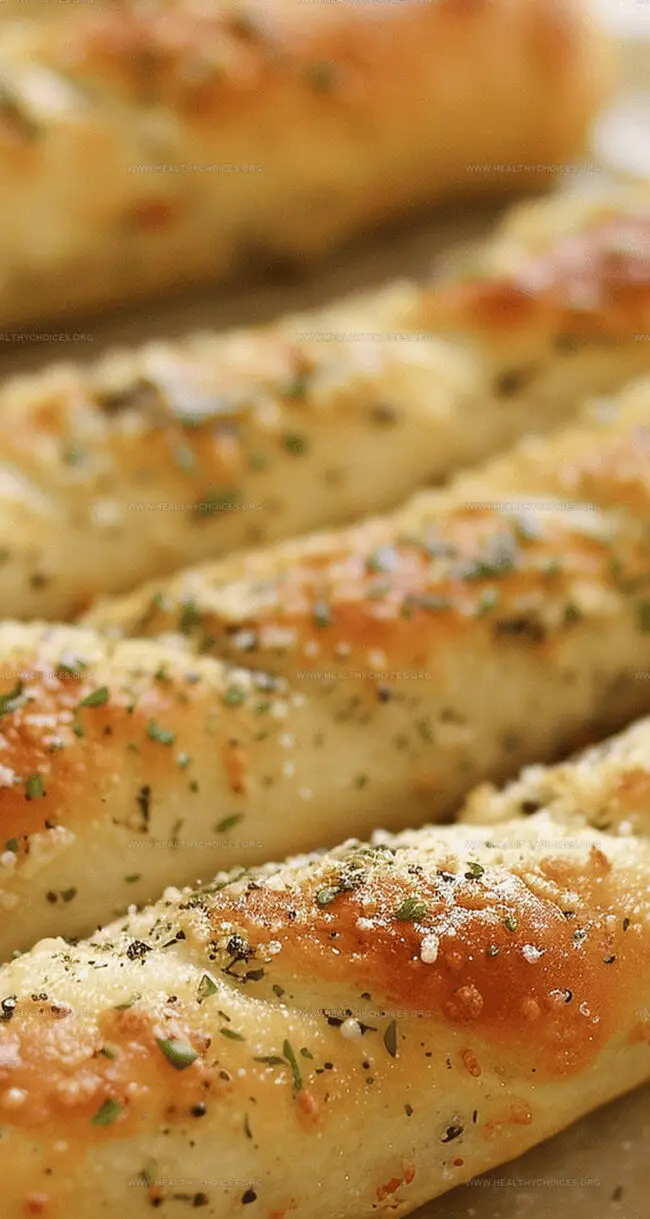
Garlic butter breadsticks change ordinary meals into extraordinary culinary moments with their irresistible aroma and pillowy texture.
These delectable companions elevate dining experiences through rich, buttery layers that melt in your mouth.
Restaurants have long understood the magnetic pull of warm, fragrant breadsticks emerging from kitchen ovens.
Bakers craft these golden delights using carefully balanced ingredients that promise soft, tender results every single time.
Home cooks can easily master this seemingly complex recipe with straightforward techniques and minimal preparation.
Simple pantry staples combine to create something magical that makes everyone at the table smile.
The secret lies in understanding precise mixing methods and creating the perfect dough consistency.
Why Fluffy Garlic Butter Breadsticks Are Better Than Takeout
Ingredients That Make Garlic Butter Breadsticks So Soft
Bread Base:Liquid and Fat Components:Flavor Enhancers:Butter Topping:How to Bake Fluffy Garlic Butter Breadsticks at Home
Step 1: Prepare Dough Foundation
Mix ingredients until well combined.
Step 2: Knead The Perfect Dough
Gradually add flour to mixer on low speed. Increase to medium speed and knead for 7-8 minutes until dough becomes smooth and stretchy.
Step 3: First Dough Rise
Transfer dough to lightly oiled bowl. Cover with clean kitchen towel. Let rise in warm spot for approximately 1.5 hours until dough doubles in size.
Step 4: Shape Breadstick Logs
Divide dough into 12 equal portions. Roll each piece into 7-inch long logs. Place logs on parchment-lined baking sheet.
Step 5: Second Rise
Cover shaped logs. Allow to rise again for 1 hour until they puff up nicely.
Step 6: Bake To Golden Perfection
Preheat oven to 400°F. Bake breadsticks for 12-14 minutes until beautifully golden brown.
Step 7: Create Magical Garlic Butter
Combine in small bowl:Step 8: Final Flavor Brush
Immediately brush freshly baked breadsticks with garlic butter mixture. Serve warm and watch everyone swoon!
Tips to Get That Buttery Finish Just Right
Best Way to Store and Reheat Garlic Breadsticks
What to Serve with Garlic Butter Breadsticks
Delicious Flavor Upgrades for Garlic Breadsticks
Print
Fluffy Garlic Butter Breadsticks Recipe
- Total Time: 27 minutes
- Yield: 12 1x
Description
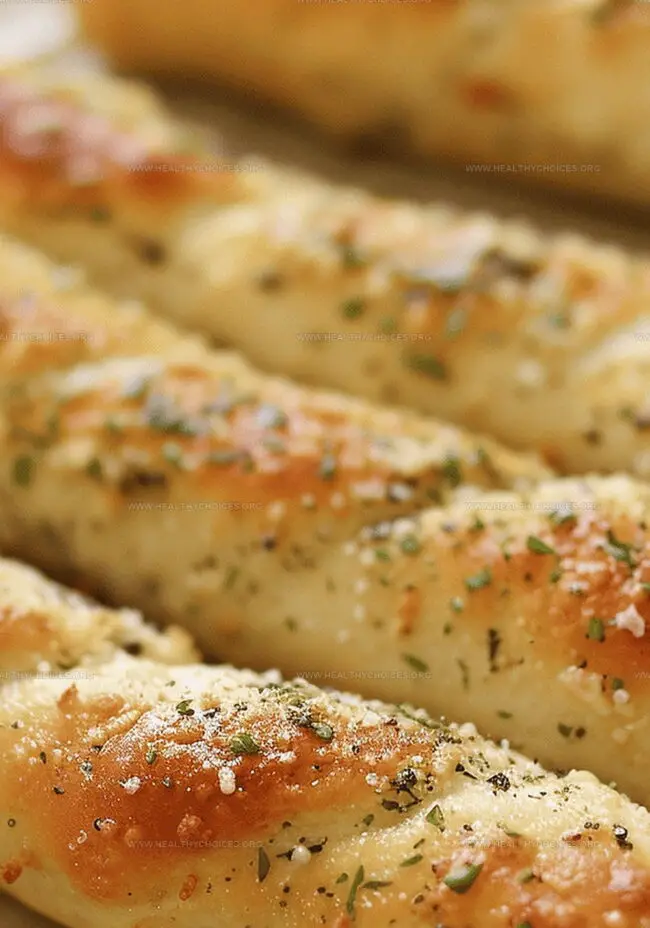
Garlic butter breadsticks bring Italian bakery magic right to home kitchens. Warm, herbed dough spirals with rich garlic butter create an irresistible side you’ll crave alongside pasta or as a solo snack.
Ingredients
Main Ingredients:
- 3 cups bread flour or all-purpose flour
- 1 cup + 2 tablespoons warm water
- 1 ½ teaspoons instant yeast
- 3 tablespoons unsalted butter, melted
Wet and Binding Ingredients:
- 2 tablespoons granulated sugar
- 1 ¾ teaspoons kosher salt
Topping and Flavor Enhancers:
- 3 tablespoons unsalted butter, melted
- ½ teaspoon kosher salt
- ¼ teaspoon garlic powder
- ¼ teaspoon Italian seasoning
Instructions
- Activate the yeast mixture in the electric stand mixer by blending liquid ingredients, creating a smooth base for the dough development.
- Integrate flour gradually into the liquid foundation, using the dough hook to systematically incorporate ingredients until a cohesive texture emerges.
- Knead the developing dough on medium speed, transforming it into a silky, elastic consistency that signals proper gluten development.
- Transfer the prepared dough to a generously oiled container, draping with a clean cloth to encourage optimal rising in a draft-free environment.
- Allow the dough to expand and double in volume, indicating fermentation and flavor enhancement.
- Partition the risen dough into uniform segments, carefully rolling each portion into elongated cylindrical shapes measuring approximately 7 inches.
- Arrange the formed dough logs on prepared baking surfaces, ensuring adequate spacing for secondary proofing.
- Permit the shaped breadsticks to undergo a second rising phase, expanding until visibly plumped and aerated.
- Heat the oven to precise temperature, creating an ideal baking environment for golden transformation.
- Bake the breadsticks until they achieve a rich, amber-brown coloration signaling complete cooking.
- Concurrently prepare a luxurious butter infusion by combining melted butter with aromatic seasonings.
- Immediately after removing from the oven, lavishly brush the hot breadsticks with the seasoned butter mixture, ensuring complete coverage.
- Serve the breadsticks while warm, presenting a delectable accompaniment bursting with herbal and garlic notes.
Notes
- Proofing matters: Ensure a warm, draft-free spot for dough rising to achieve maximum fluffiness and soft texture.
- Kneading technique: Use mixer’s dough hook for exactly 7 minutes to develop gluten and create perfect breadstick elasticity.
- Portioning precision: Divide dough evenly into 12 equal logs for consistent size and uniform baking results.
- Butter coating secret: Brush melted garlic butter immediately after baking to lock in flavor and create irresistible golden sheen.
- Storage tip: Best enjoyed warm, but can be stored in airtight container for 2-3 days and quickly reheated in oven.
- Make-ahead friendly: Prepare dough night before and refrigerate for slow rise, allowing deeper flavor development.
- Prep Time: 15 minutes (plus rising time)
- Cook Time: 12 minutes
- Category: Snacks, Appetizer, Dinner
- Method: Baking
- Cuisine: Italian
Nutrition
- Serving Size: 12
- Calories: 180
- Sugar: 2 g
- Sodium: 210 mg
- Fat: 7 g
- Saturated Fat: 4 g
- Unsaturated Fat: 3 g
- Trans Fat: 0 g
- Carbohydrates: 26 g
- Fiber: 1 g
- Protein: 4 g
- Cholesterol: 15 mg
David Bennett
Founder & Head Recipe Developer
Expertise
Culinary Nutrition, Recipe Development, Nutritional Counseling, Food Science
Education
Johnson & Wales University
Certified Nutrition Specialist® (CNS®)
David Bennett is the lead recipe creator and nutrition expert at HealthyChoices.org, your friendly space for tasty meals that nourish body and mind.
With a Culinary Nutrition degree from Johnson & Wales University and a Certified Nutrition Specialist® credential, David pairs practical nutrition with delicious cooking, creating recipes you’ll crave daily.
At Healthy Choices, David shares easy, nutritious dishes and smart cooking tips to make healthy eating something everyone can enjoy, with no complicated diets needed.