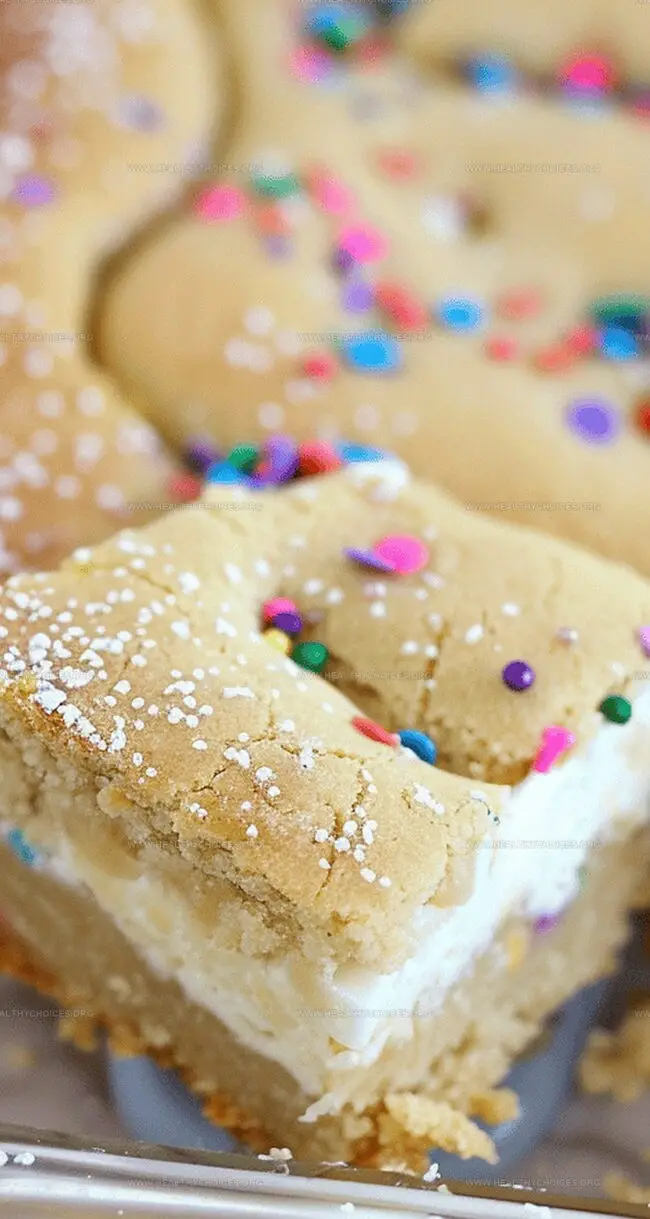
Sweet sugar cookie cheesecake bars blend two beloved desserts into one irresistible treat that promises pure indulgence.
Creamy textures and buttery undertones create a harmonious symphony of flavors that dance across your palate.
Rich, decadent layers combine classic bakery favorites with a modern twist that elevates traditional dessert expectations.
Soft, melt-in-your-mouth elements merge seamlessly, delivering a delightful contrast between crisp cookie base and smooth cheesecake filling.
Imagine the perfect balance of crumbly and velvety textures that tantalize taste buds with each delectable bite.
Home bakers will appreciate the straightforward approach to crafting this crowd-pleasing dessert that looks impressive yet requires minimal technical skill.
Guests will absolutely adore these elegant bars that revolutionize simple ingredients into a spectacular culinary experience.
Reasons to Make Sugar Cookie Cheesecake Bars Again and Again
Craving Comfort Combo: This recipe brilliantly marries the classic sweetness of sugar cookies with the creamy richness of cheesecake, creating a dessert that feels like a warm hug from your favorite bakery.
Quick Kitchen Magic: With just a few simple steps and minimal ingredients, home bakers can whip up these delightful bars in under an hour, making it perfect for spontaneous dessert cravings or last-minute gatherings.
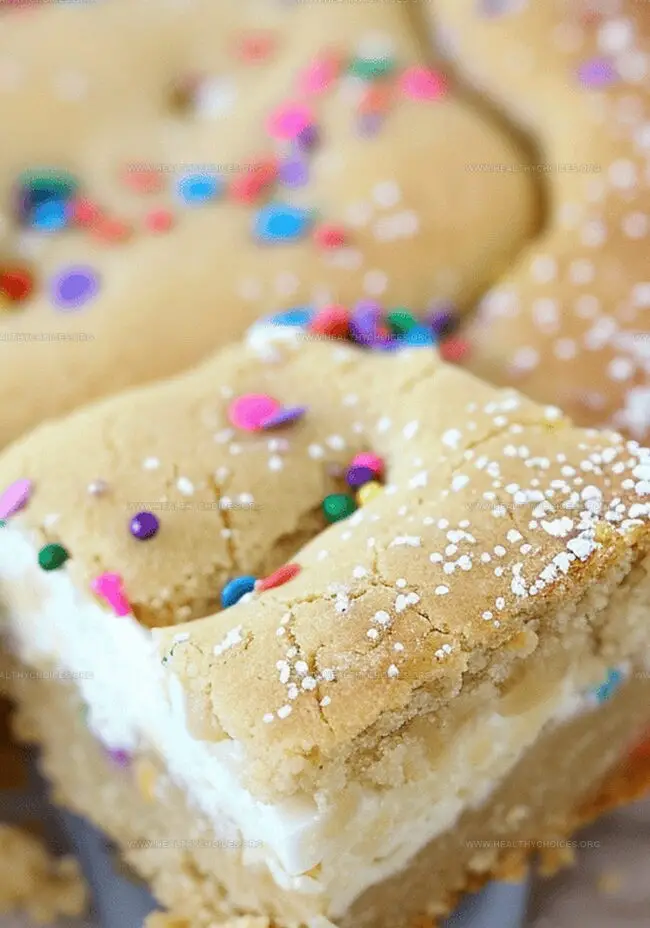
Texture Party in Your Mouth: The recipe delivers an irresistible contrast between the soft, velvety cheesecake center and the crisp, golden sugar cookie crust, ensuring every bite is a delightful sensory experience.
Totally Customizable Treat: Bakers can easily personalize these bars by adding sprinkles, experimenting with different extracts, or adjusting the sweetness level, making it a versatile dessert for any occasion.
Ingredients List for Sugar Cookie Cheesecake Bars
Sugar Cookie Base:
Sugar Cookie Dough: Soft, pre-made dough that creates a delicious and easy cookie crust with rich buttery flavor.
Cheesecake Filling:
Cream Cheese: Smooth, tangy base that provides creamy texture and rich flavor for the cheesecake layer.
Egg: Binds the cheesecake mixture and helps create a stable, firm filling.
Powdered Sugar: Optional sweetener that can adjust the cheesecake’s sweetness level.
Baking and Finishing:
Non-Stick Spray: Ensures easy removal of bars from baking dish and prevents sticking.
Sprinkles: Optional decorative topping that adds festive color and fun texture.
Steps to Prepare Sugar Cookie Cheesecake Bars at Home
Step 1: Prepare the Oven
Preheat oven to 350°F (175°C)
Grab a baking dish
Spray the dish with non-stick cooking spray
Step 2: Create Creamy Cheesecake Filling
Gather cream cheese
Add vanilla extract
Mix in egg
Blend ingredients on low speed until silky smooth
Optional: Sprinkle powdered sugar for extra sweetness
Pro Tip: If cream cheese feels lumpy, place mixing bowl in warm water bath to soften
Step 3: Craft the Cookie Crust
Take sugar cookie dough roll
Slice dough in half
Press first half into bottom of prepared baking dish
Spread evenly to create smooth base
Step 4: Layer the Cheesecake
Pour cream cheese mixture over cookie crust
Distribute filling evenly
Take remaining dough
Create small flattened chunks
Scatter chunks across cheesecake surface
Step 5: Bake to Golden Perfection
Slide dish into preheated oven
Bake for 30 minutes
Watch carefully to prevent burning
Look for golden brown cookie topping
Step 6: Cool and Decorate
Remove from oven
Let bars rest for one hour
Optional: Sprinkle colorful decorations
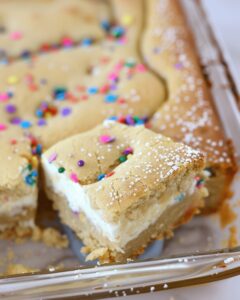
Slice into squares
Serve and enjoy delightful treat!
Smart Tips for Sugar Cookie Cheesecake Bars Success
Soften Cream Cheese Perfectly: Allow cream cheese to sit at room temperature for 30-45 minutes before mixing to ensure a smooth, lump-free texture.
Prevent Overbaking: Check bars at 25 minutes and remove when edges are lightly golden to maintain a creamy cheesecake consistency.
Create Uniform Crust: Use the back of a measuring cup or spatula to press sugar cookie dough evenly, creating a solid, level base.
Achieve Clean Cuts: Chill bars completely before slicing and use a sharp knife wiped clean between cuts for neat, professional-looking squares.
Customize Flavor Boost: Experiment with flavored sugar cookie dough or add a sprinkle of cinnamon to the cream cheese mixture for extra depth.
Store Sugar Cookie Cheesecake Bars Without Losing Texture
Refrigerate: Store leftover bars in an airtight container in the refrigerator for up to 5 days. Cover with plastic wrap or lid to prevent drying out and absorbing other food odors.
Freeze: Wrap individual bars tightly in plastic wrap, then place in a freezer-safe container. Freeze for up to 3 months. Thaw overnight in the refrigerator before enjoying.
Reheat: Warm bars gently in the microwave for 10-15 seconds on 50% power. For best texture, let bars sit at room temperature for 10 minutes before serving to soften slightly.
Ideal Pairings for Sugar Cookie Cheesecake Bars
Pair with Creamy Vanilla Latte: The rich, smooth coffee complements the sweetness of the sugar cookie cheesecake bars, balancing the dessert’s decadent flavor profile.
Match with Fresh Berry Sangria: The fruity, light drink cuts through the richness of the cheesecake, providing a refreshing contrast that enhances the overall taste experience.
Serve alongside Chilled Moscato: This sweet, light wine brings out the subtle vanilla notes in the bars, creating a delightful dessert pairing that feels elegant and indulgent.
Enjoy with Cold Milk: A classic companion that perfectly neutralizes the sweetness and provides a clean, crisp finish to each bite of the creamy, cookie-based dessert.
Flavor Additions for Sugar Cookie Cheesecake Bars
Chocolate Chip Cookie Base: Swap sugar cookie dough with chocolate chip cookie dough for a richer, more decadent flavor profile that adds extra sweetness and chocolate chunks throughout the bars.
Seasonal Berry Cheesecake Bars: Top the cheesecake mixture with fresh raspberries or blueberries before adding the cookie layer, creating a fruity summer-inspired version that brings bright, tangy notes to the dessert.
Cinnamon Swirl Edition: Mix ground cinnamon into the cream cheese filling and sprinkle additional cinnamon on top of the cookie dough for a warm, spiced version that gives a cozy bakery-style feel to the bars.
Nutty Crunch Variation: Sprinkle chopped pecans or almonds over the top cookie layer before baking, adding a delightful crunch and nutty undertone that complements the creamy cheesecake base.
Creamy cheesecake meets classic sugar cookie in this delightful dessert fusion. Rich layers of sweet, tangy filling nestled between buttery cookie crusts promise a delectable experience you won’t want to miss.
Ingredients
Scale
Sugar Cookie Ingredients:
16.5 ounces (468 grams) sugar cookie dough tube
1 tablespoon vanilla extract
Dairy Ingredients:
1 egg
8 ounces (226 grams) cream cheese, room temperature
Decorative Ingredients:
Sprinkles (optional)
Powdered sugar (optional)
Instructions
Prepare the oven environment by heating to 350°F and lightly coating a baking dish with non-stick spray to ensure effortless removal of the bars.
Create a silky cheesecake base by blending cream cheese with vanilla extract and egg until the mixture achieves a luxurious, smooth consistency. Optional powdered sugar can enhance the sweetness.
Warm tip: If the cream cheese appears lumpy, submerge the mixing bowl in a gentle hot water bath to encourage a velvety texture.
Divide the sugar cookie dough into two equal portions, strategically pressing one half into the baking dish to form a solid, uniform crust.
Gently cascade the cream cheese mixture over the cookie foundation, ensuring even distribution across the surface.
Transform the remaining cookie dough into delicate, flattened clusters, artfully scattering them across the cheesecake layer to create a rustic, appetizing topping.
Slide the baking dish into the preheated oven, monitoring closely for approximately 30 minutes until the cookie surface transforms into a golden, appetizing hue.
Allow the bars to cool completely for one hour, permitting the layers to set and flavors to meld harmoniously.
Optional festive flourish: Sprinkle decorative embellishments over the cooled bars before slicing into delectable squares for serving.
Notes
Softening cream cheese is crucial for a smooth, lump-free cheesecake mixture; use a warm water bath to quickly bring it to the right temperature.
Pressing sugar cookie dough evenly creates a sturdy, delicious base that prevents soggy bottoms and ensures consistent texture.
Watch the baking time closely, as sugar cookies brown rapidly and can burn within minutes, potentially ruining the entire dessert.
Cooling the bars completely allows the cheesecake to set properly, resulting in clean, neat slices that hold their shape.
Customize your bars with festive sprinkles or additional toppings like chocolate drizzle or crushed cookies for a personalized touch.
Store leftover bars in an airtight container in the refrigerator for up to 3-4 days to maintain freshness and prevent bacterial growth.
Focus: Blending culinary arts with nutritional science to create health-focused cuisine.
Certified Nutrition Specialist® (CNS®)
Credential: Advanced certification in personalized nutrition therapy.
David Bennett is the lead recipe creator and nutrition expert at HealthyChoices.org, your friendly space for tasty meals that nourish body and mind.
With a Culinary Nutrition degree from Johnson & Wales University and a Certified Nutrition Specialist® credential, David pairs practical nutrition with delicious cooking, creating recipes you’ll crave daily.
At Healthy Choices, David shares easy, nutritious dishes and smart cooking tips to make healthy eating something everyone can enjoy, with no complicated diets needed.

David Bennett
Founder & Head Recipe Developer
Expertise
Culinary Nutrition, Recipe Development, Nutritional Counseling, Food Science
Education
Johnson & Wales University
Certified Nutrition Specialist® (CNS®)
David Bennett is the lead recipe creator and nutrition expert at HealthyChoices.org, your friendly space for tasty meals that nourish body and mind.
With a Culinary Nutrition degree from Johnson & Wales University and a Certified Nutrition Specialist® credential, David pairs practical nutrition with delicious cooking, creating recipes you’ll crave daily.
At Healthy Choices, David shares easy, nutritious dishes and smart cooking tips to make healthy eating something everyone can enjoy, with no complicated diets needed.